7 Steps to a New Website
What exactly is involved in making a new website? Whether you decide to DIY or hire a professional, this post takes you through an overview of the 7 essential steps required to build and launch a new website.
Keep in mind, this is a fairly broad overview. Each step can get complicated, but I’ve included links to other sources and plan to write more detailed posts on each step in the future.
Determine what the purpose of your new site will be, short-term and possibly long-term. This sounds easy and obvious, but it’s important to take the time to think through what you want, and what you expect your new site to accomplish.
This should be your first step as it affects everything else you do.
What are the primary goals of your site? Select 1-3 goals. Some possibilities include: You want potential customers to contact you via phone or email; you want to display and describe your services, menu or artwork; you want to build an email list for marketing and selling your products or services.
Once you’ve determined your website goals, think about what you want on your site to accomplish your goals.
Marketing materials, such as basic information on your business and why potential customers should choose you.
Contact and About pages
Products and Services - a list, menu or portfolio of what you offer - a portfolio for artists, a menu for restaurants, a list of handyman services, etc.
Testimonials - positive reviews of you and your work help potential clients trust your quality
Blog - provide regular updates with a blog. This can consist of photos of work in progress, how-tos, opinions, recipes or any information you’d like to share. A blog can be a stand alone website, or part of a business and is great for communicating your expertise. Bonus - blogs are great for SEO (search engine optimization) and bringing new traffic (and customers) to your website.
E-Mail list - It’s almost always a good idea to collect names of potential customers to announce news and promotions.
Store - Sell directly on your website, or link to an existing store such as Etsy.
Scheduling - Provide customers the ability to schedule appointments with you.
Pro Tip: Write it down. After considering all the ideas above, write down a 2-4 sentence summary of your website’s goals and what kind of pages or information you want to include.
Read more in my detailed post on What Are the Goals of Your New Website?
2. Select a website platform. This may be the toughest step - a website platform, (such as Squarespace or Wordpress) determines how you design, build, host and maintain your site. The range of choices is enormous, and you will get passionate opinions on all different platforms.
If you are an absolute beginner, select something simple but powerful such as Squarespace or Wix. Even if you are familiar with building websites, I don’t recommend Wordpress (based on previous experience) because it is complex and difficult to maintain security, but here is a comparison of Wordpress vs. Squarespace you might find helpful.
Here’s my take on the why I strongly recommend Squarespace
Most web building platforms have multiple design options (themes or templates), which we’ll explore more in step #4. Also, most web builders have trial options you can test out for free for a few weeks.
Read more in my detailed post on How to. Choose a Website Platform
3. Select and register a domain name. If you have a business name, hopefully some variation of it is available. If you are an artist, you can use your full name, or add “artist” before or after your name.
Read more in my detailed post How to Select a Domain Name
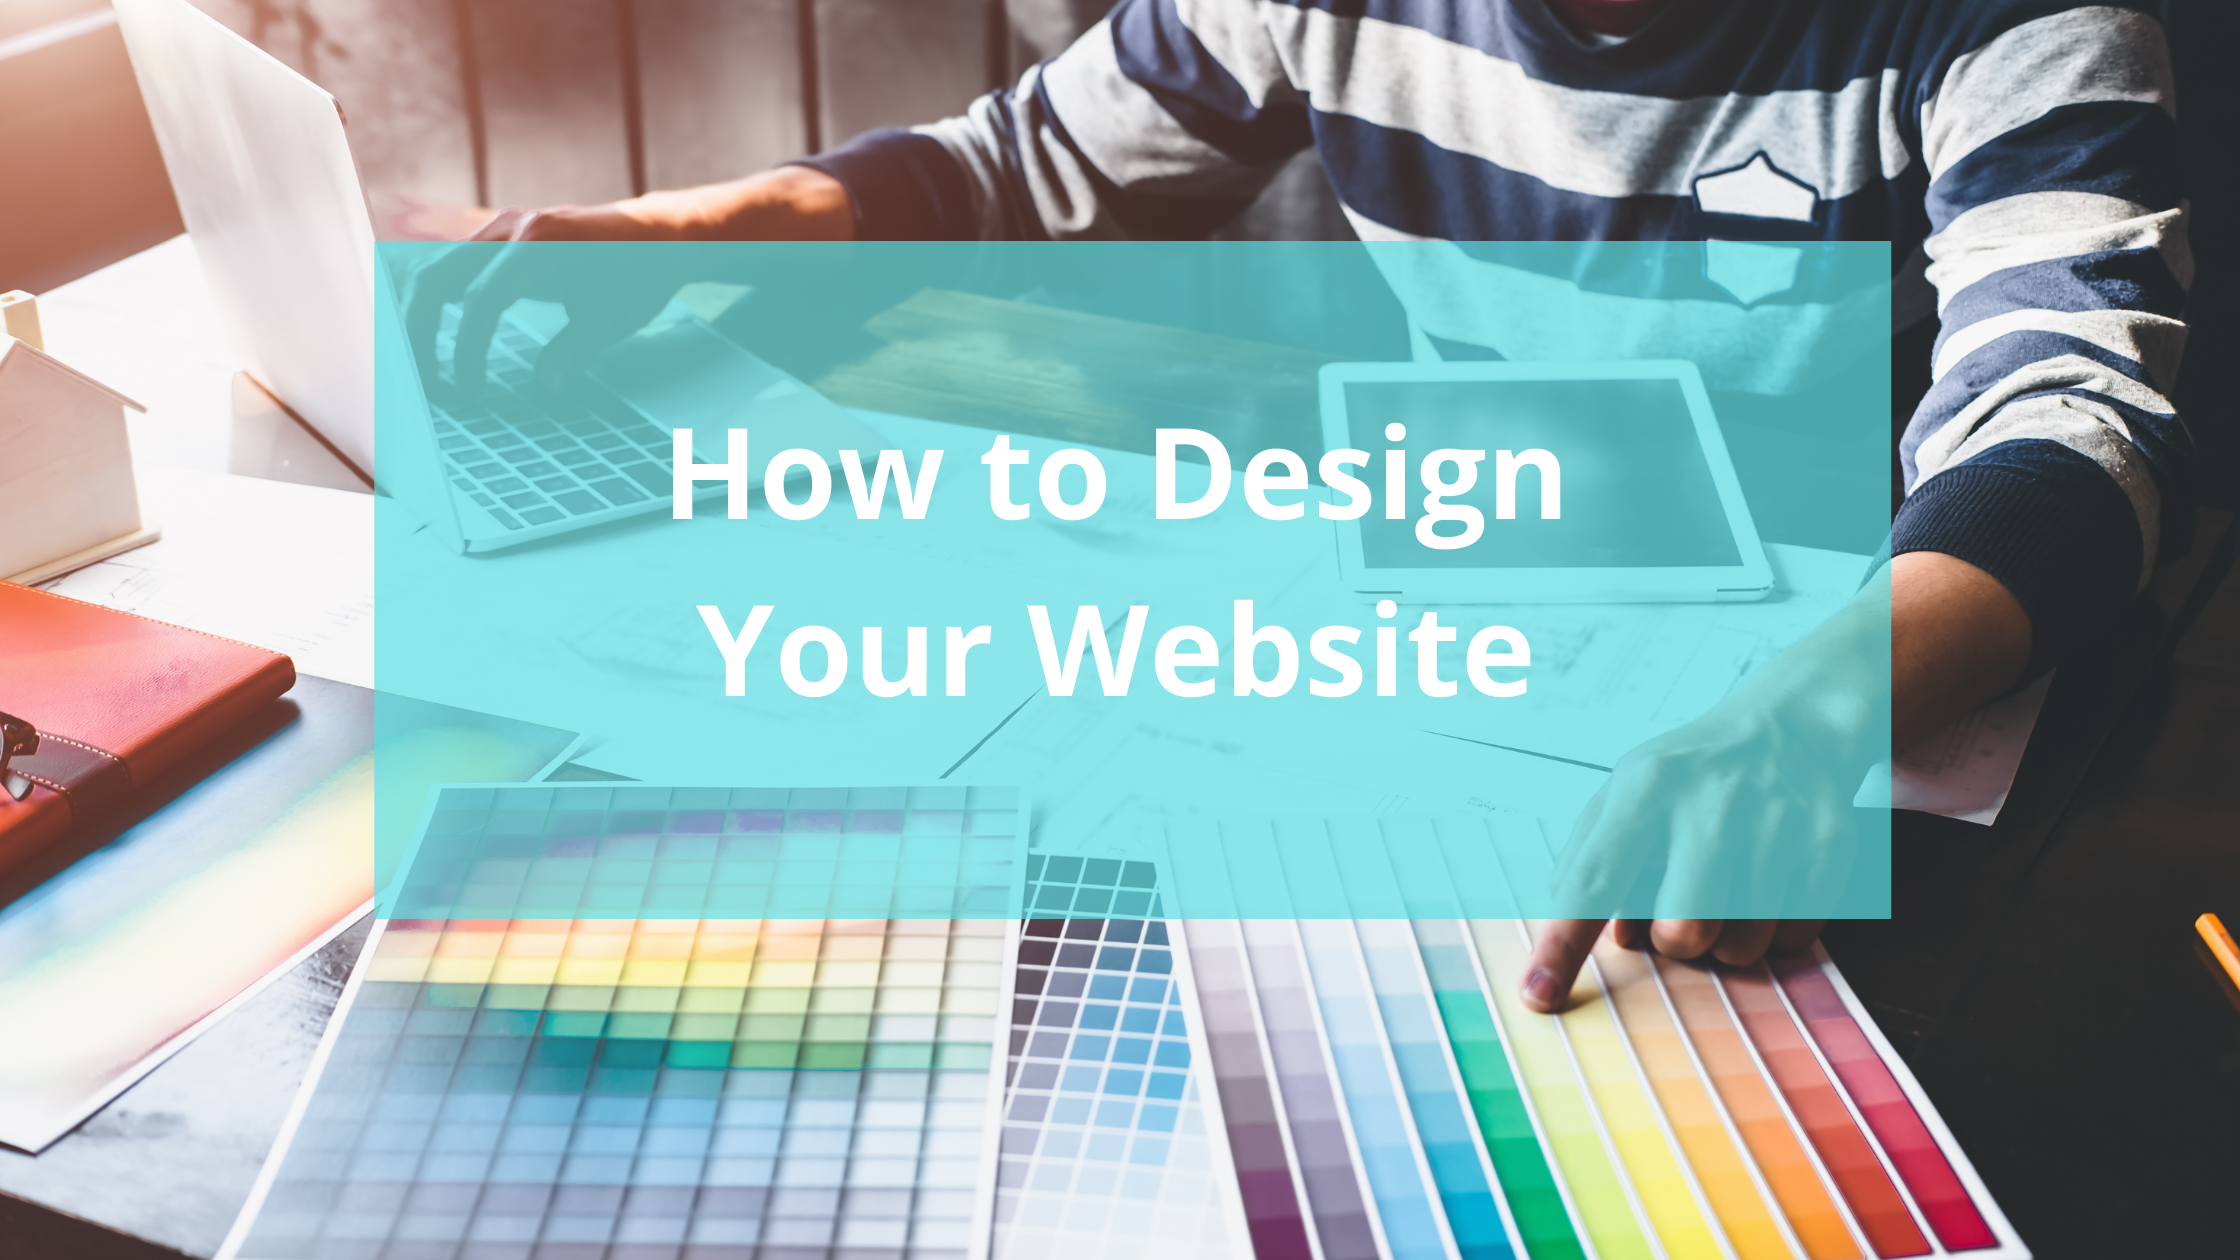
4. Design Your Site
Once you’ve thought through steps 1-3, you’re ready to start designing your site. The easy way is to simply select a theme or template you like from your web building platform.
I suggest you do some research and have some solid design ideas in mind before you select a theme or template. Spend at least a few hours - or days! on this - it’s important and doing it right will save you time in the long run.
Go to similar (or competitive) businesses and see what they do or don’t do - what do you like and what turns you off? Some specific design concepts to consider:
Logo - if you already have a good logo, great - you can design around this. If not, decide if you need one. Sometimes using your name in a “fancy” appropriate typeface works, but be careful and keep it simple for readability. Or you can hire a graphic designer.
Layout - general look and feel (do you prefer modern, minimal, traditional, etc.)
Color Palette - select 2-3 primary colors to use.
Fonts - simplest is best for easier readability for your basic body copy. Select larger sizes for headers - use all CAPs or bold sparingly if at all.
Pro Tip: Sketch a basic site map or list of all pages and navigation of how to get from one page to another.
Then, from your web builder platform, choose a template (or theme) that you can adapt to your specific design concept and site architecture.
If you’re using Squarespace, I recommend Brine in v 7.0 as it has the most flexible features available. For other platforms, Google the platform name and the type of site you want for recommendations.
5. Create Content (Copy and Images)
It’s no exaggeration that content is the most important element of your site - it is why people come to your site - they want to learn more about you, your business, your services or art, and good copy will make it easy to understand what you and your business are all about.
For some background, here’s a quick and thorough resource on creating great content:
The Nine Ingredients That Make Great Content
To create your own content, it’s best to follow the Pro Tip in Step 4 (Sketch a basic site map or list of all pages) which gives you an outline of the pages you need content for. Then, write copy for each page (in Word or Google Docs), and select images (and have them easily accessible on your computer or some cloud file system like Google Drive).
6. Build Out Your Site Pages with Content
Once you have created content, you’re ready to build out your site. In your web building platform design template (that you selected in Step 3), add, modify or delete pages based on your site map.
Then, add copy and images from your content files.
After you have completed adding copy and images to your site, check all copy for accuracy and quality.
7. Launch your site!
If your website and domain are hosted on the same platform, this is as simple as pressing a button. If your domain is separate, it needs to point to your website and this requires a few steps and may take a few hours. Follow the instructions for your web platform and your domain host and then Bam! You’re online - Congratulations!
Pro Tip: Before you start celebrating your website launch, ask someone else to take a look at your site to ensure there are no glaring errors.
Check out my other posts on how to build your website!